Graphic Specification Requirements Checklist
In order to get the most superior finished product possible for your art files, be sure to follow the requirements listed in the checklist below.
Accepted File Formats
- Adobe Illustrator CC (or earlier) - .ai or .eps
- For good printing resolution, your file should be 125 DPI.
- All files need to be saved as full size to ensure the right dimensions are in the graphic.
- Please note we are not a design team. ONLY PRINT READY ART AND FILES WILL BE ACCEPTED
Click here for retractable belt barrier template.
Click here for custom barricade cover template.
- File must be in vector format.
- Do not embed color profiles.
- All fonts will need to be outlined
- All images will need to be embedded.
- Provide a layered file.
- We use CMYK printers to create these graphics. 100% reproduction of defined colors is not possible. Differences between colors in the printed and original file can occur at many different stages. Variations in color or shading are often a result of viewing on un-calibrated equipment (monitors, printers, etc). Colors will often appear different when viewed on two different monitors or output devices. Without accurate color information, we have no way of ensuring that expected colors will be achieved.
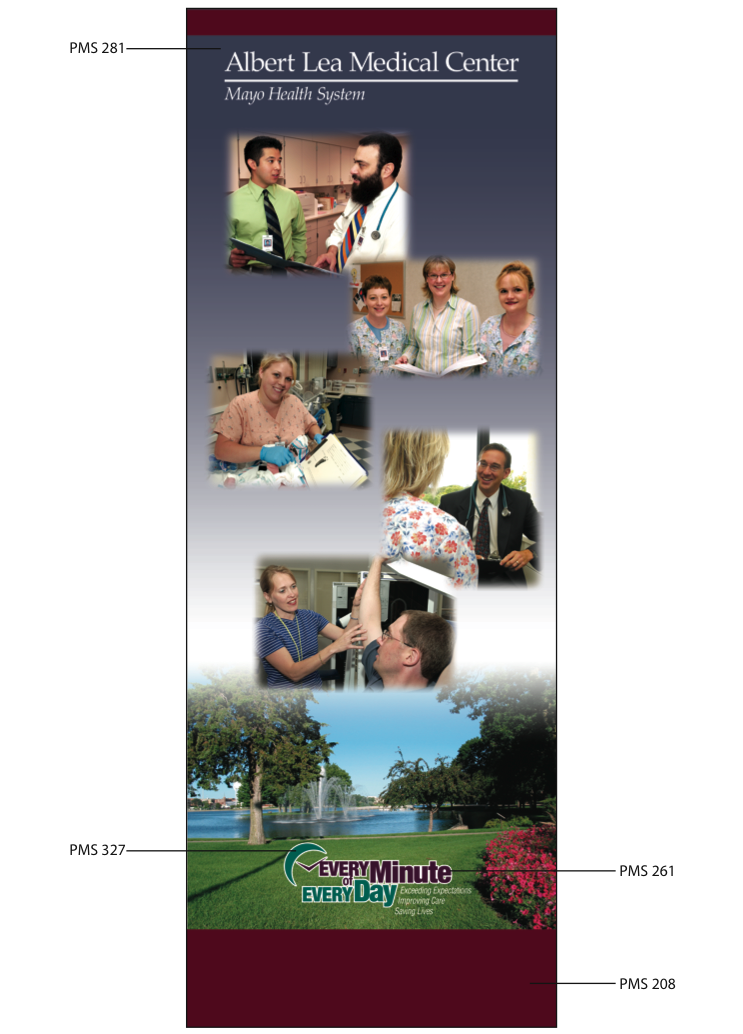
- Indicate Pantone Values for all critical colors. Click here for Pantone (PMS) color definition. (Click here for an example.)
- An e-proof is provided within 48 hours of artwork approval.
Process
- Artwork should be submitted the same day the order has been placed to avoid delays.
- After receiving your file, it will be reviewed within 24-48 hours for printing requirements. If the file does not meet all necessary requirements, you will be contacted by your representative.
- If corrections are needed, you may make these changes yourself and resubmit the file.
- After the file has been approved, we will send a proof to you for your approval.
- After we receive proof approval, production lead time begins.
- Once your item is through production it will be shipped according to your selected shipping method.
Artwork
- Please indicate any special positioning requirements of your graphic on the product.
- Individual program requirements:
- Illustrator - convert all fonts to outlines & embed all images.
- Photoshop - rasterize all fonts.
- File color mode must be CMYK. If requesting Pantone matching, please provide a layered file. This allows us to make minor color corrections if necessary.
- Please send only files that are used in your graphic/design.
- Due to variations in output and viewing devices, there is no guarantee of 100% color match. We are unable to guarantee printed colors will be as they appear on your monitor, printer, or other viewing method. We cannot guarantee color matching to previously ordered units.
Submission
The easiest way to submit your artwork is to do so directly on the product detail page. However, you can also send it to us after placing your order. If you submit your files after placing your order, please compress all files and folders using the ZIP file format and name the file using your order number (ex: 047856.zip).
How to submit artwork after placing your order:
Please email your files to sales@crowdcontrolwarehouse.com
If the file is too large to send via email, please upload it to Google Drive and send us an email with a link that we can use to access the file. You may need to adjust the privacy settings so that anyone with the link can access it.
Prior to the start of your project, our team will provide you with an estimated design time. See below for examples of our work done for previous customers.
Photoshop Users
You may use our templates or submit your own created document, but the dimension of the file needs to match the finished size.
Image Resolution
All photos and graphics must measure 125 DPI at full size.
In Photoshop, you can go to
- IMAGE
- IMAGE SIZE
to find out your file resolution.
Determine Image Quality From Source
|
Good Quality |
Bad Quality |
|
High resolution / high-quality stock photography High resolution / high-quality scanner |
Screen capture of a video frame Low resolution / low-quality stock photography Image lifted off a web-page |
Why 125 DPI?
The reason we require 125 DPI for photos and graphics is that the banner created will be designed as a large format print. In this case, you do not need to prepare your file in 300 DPI, since photos and graphics in that dimension are usually used for smaller format print work.
Color Mode
As previously mentioned, your files must be in CMYK mode. To check the settings of your image, go to Image > Mode > CMYK.
Regular Black / Rich Black
If you’ve ever had problems getting a nice, deep black color when printing your graphics, you’re not alone. When the standard black color is set to C 0%, M 0%, Y 0%, K 100%, black print may look dull and not as deep as you might have expected.
For regular (true) rich black, use the following settings:
- C 75% M 75% Y 75% K 100%
Illustrator Users
Setting Your Image Resolution
Your non-vector images and graphics must be 125 DPI at full size.
Determine Image Quality From Source
|
Good Quality |
Bad Quality |
|
High resolution/high-quality stock photography High resolution/high-quality scanner |
Screen capture of a video frame Low resolution/low-quality stock photography Image lifted off a web-page |
Color Mode
Your file has to be in CMYK mode.
- COLOR PALLETE
- OPTION CMYK
*If your text is not created outlined, font shift might occur.
Saving
Make sure to save the file in EPS format once your design is finished. If there are extra graphics that lie outside the finished size area, you will need to create a crop area that contains the exact size of the finished size before saving your file.
You’re Almost Done!
Before uploading, take the time to open the EPS file you just saved. Make sure to review all graphics and text within the file to make sure the dimensions are correct.
Once you are sure your files meet our specifications, upload your contact and order information.
For regular (true) rich black, use the following settings:
- C 75% M 75% Y 75% K 100%